
Before you start
A Menu consists of Sections, Subsections and Items.
- A Section can be any group of related items, so it could 'Breakfast' or 'Side dishes' or 'Specials'
- Subsections are optional and can be used to add, say, a 'Vegetarian' subsection to Breakfasts.
- You can have as many Sections and Subsections as you like.
- Each Item can have a title and a price and optionally some additional dietary information.
It's a good idea to add just a few items and then stop and check how your menu looks.
Create your first menu
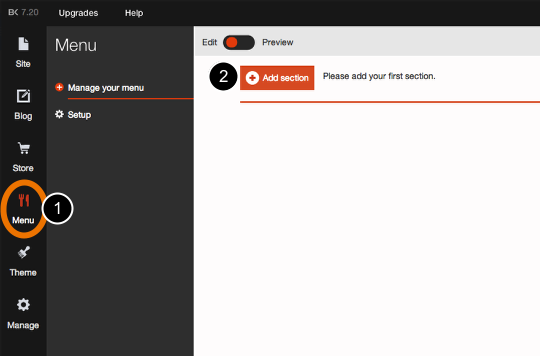
Click on the Menu Tab (1) to open the Menu Editor.
Click the Add section button (2) To add a section.
Add a section
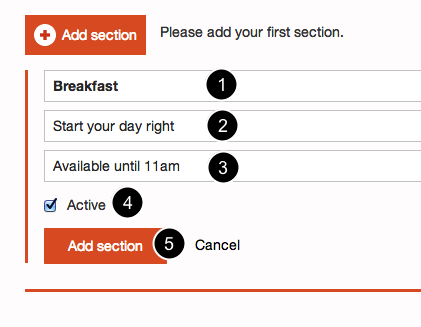
- Give the section a name
- The description will appear at the top of the section (Optional)
- The note will appear at the bottom of the section (Optional)
- To hide a section uncheck the Active tick box
- To save the section, click Add section
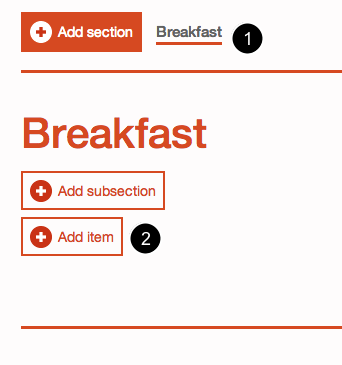
The new section (1) will appear at the top.
Click Add item (2).
Add an item
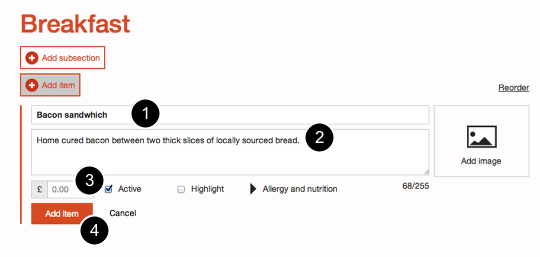
Add a item title (1) and a description (2). Set the price (3) and then click Add item (4)
Preview your item
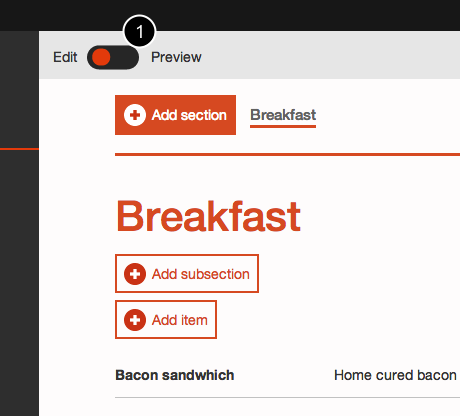
Click the preview button (1) to see how your item looks
Preview

You will see the section (1), item (2) and section note (3).
Preview modes
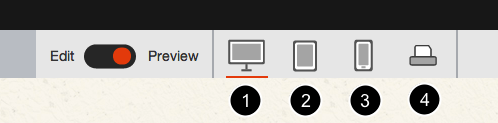
Click the icons to see how your menu will look a computer screen (1), tablet (2), phone (3) or printed (4).
Rotate the phone or tablet
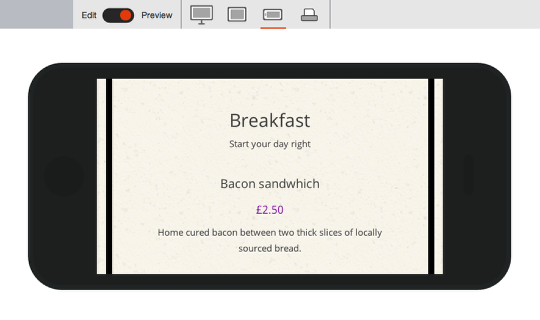
Click the tablet or phone icons again to rotate the device.
To add another item

Click the edit toggle (1) to return to editing your menu
Print preview
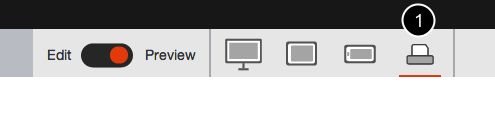
Click the printer icon to preview a printable version of your menu.
Printing your menu
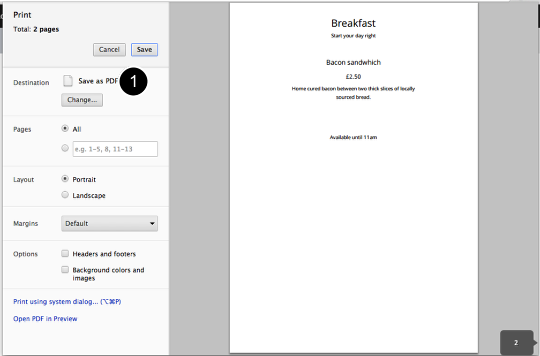
Your browser will create a printable PDF version. You may need to select PDF as a destination (1)
Note: Different browsers may print your menu in different ways. Firefox and Chrome each interpret layouts differently and this is not a fault with the Menu application
Comments
0 comments
Article is closed for comments.