
How to upload images from your computer and use them in your Editor
Adding an image
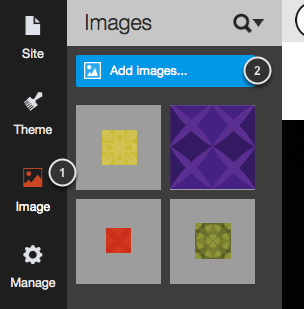
Click the image tab (1) and then the Add images button (2).
Choose image destination
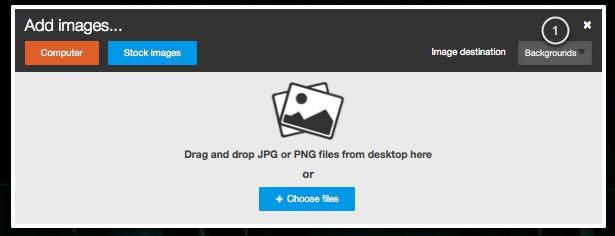
If you're going to upload lots of images, it's a good idea to keep them organised by creating an album.

Select Add Albums...
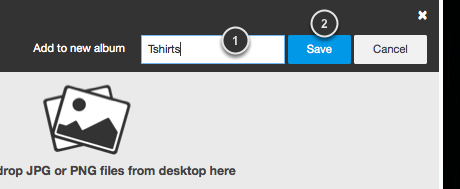
Type a name for the album (1) and click save (2).
Select the images to upload
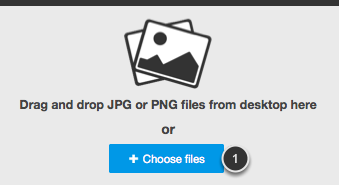
Click the Choose files button (1)
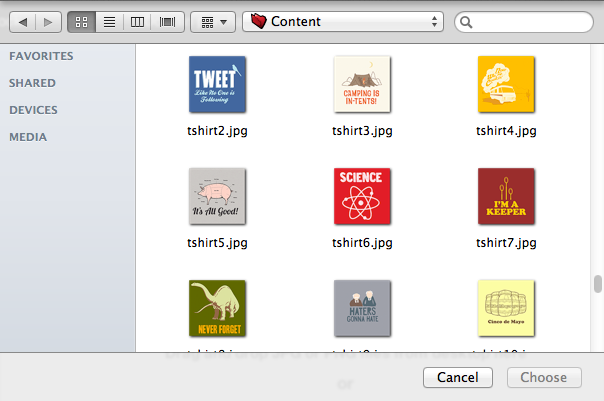
Select one or more images. You can select multiple images by using Cmd-Click (Mac) or Ctrl-Click (Windows)
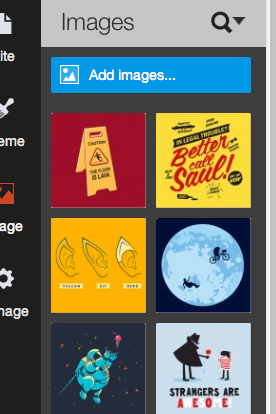
The uploaded images will appear in the images panel
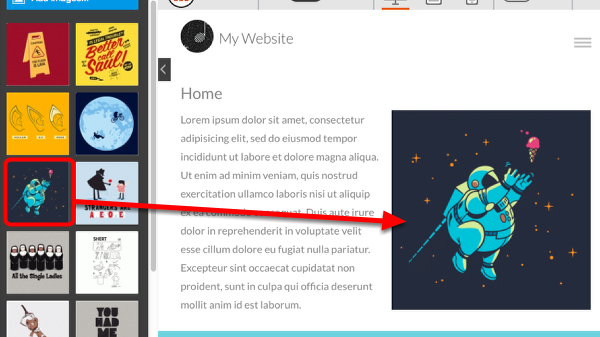
Drag the image onto the page.
Image icons
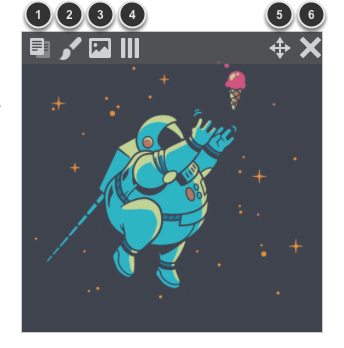
1. Copy widget
2. Open the image editor to add some effects to your image
3. Select new image
4. If the image is with in a column, this allows the column to be selected
5. Click and drag to move the image to a different location on the page
6. Remove the image from the page
Image editor
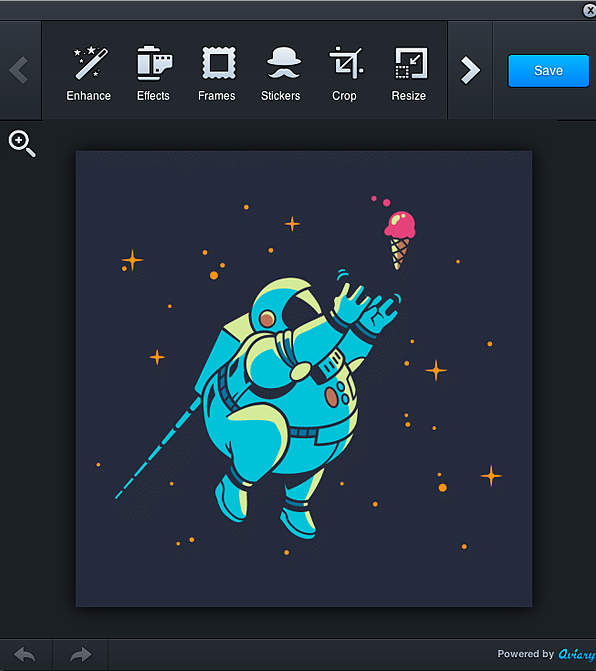
There are many effects you can add with the image editor. You can choose between adding effects, frames, stickers, crop, resize, orientation, focus contrast, adding text, draw and many others.
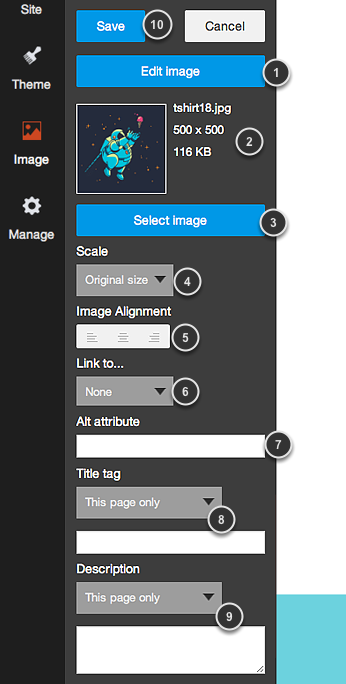
Click on an image to open the image panel.
1. Click on Edit image to open the image editor
2. See here the image dimensions and file size
3. Replace the current image with another one from your library
4. Scale your image
5. Align your image
6. You can add a link to an image to an external or internal page, or to a mail account
7. The Alt attribute is used to specify alternative text shown by a web browser if the image cannot be shown
8. The Title tag you add here will be added below your image. You can set it for the image in this page or if the image repeats itself in other pages, for all of them.
9. The description will appear below your Title tag, or if you didn't add a title tag, it will appear below your image
10. Save your changes.
The Alt attribute and Title tags are optional but it's good practice to set them and it can have an impact on Search Engine Optimisation (SEO).
Comments
0 comments
Article is closed for comments.